
Creating Non-Inventory Items
Non-inventory items are things that you order for your venue but do not necessarily count during your audits. Examples of non-inventory items are things such as: cleaning supplies, linens, and dishware. Refer to the steps below on how to create and edit Non-Inventory Items.
Create Non-Inventory Items
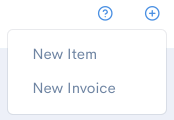
- Click +Add > New Item in the upper right page.
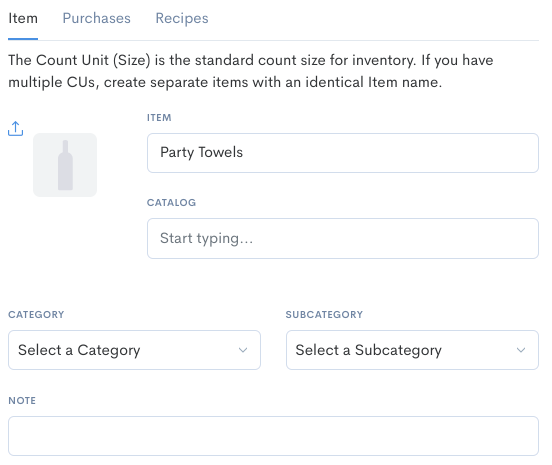
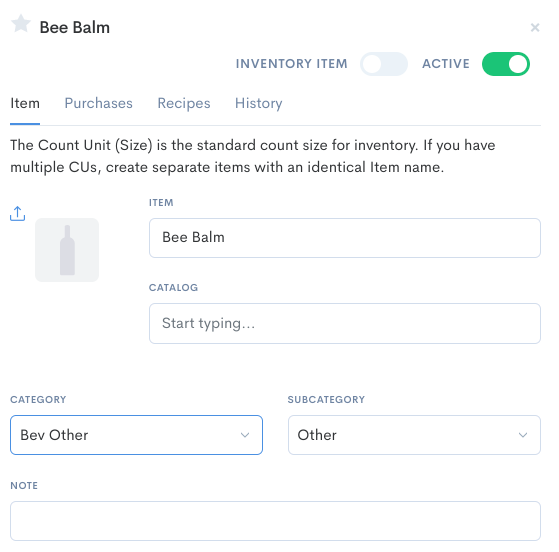
- Click the Inventory Item slider button to gray it out.


- Enter in the Name, Category, Subcategory (if applicable) from the Item tab in the Item Panel.
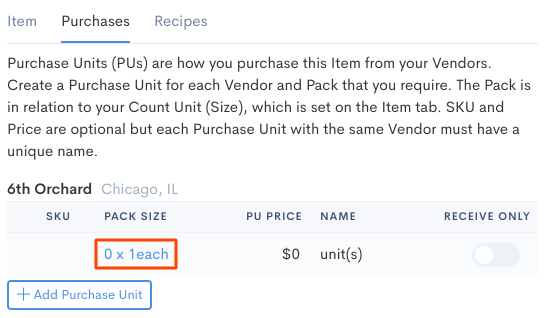
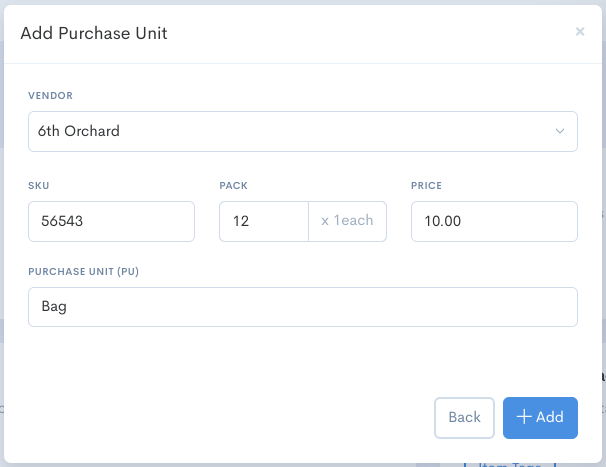
- Click the Purchases tab then click directly on the Pack Size to enter in the Vendor / SKU / Pack Size / Price / Name of PU. Then click +Add.
- Click Save Item in the bottom right of the Item Panel.
Edit current Non-Inventory Items
- Click Items & Vendors> Items from the navigation menu.
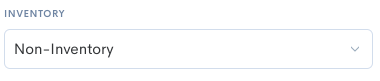
- Click the Inventory filter and select Non-Inventory Item.
- Locate the Non-Inventory Item using either the search bar or the arrow keys to scroll down the list of Non-Inventory Items. Then click directly on the item name.

- Make the desired changes in the Item Panel to the right. Once finished simply click the Save Item button in the bottom right of the panel.
Some things to keep in mind
- If you need to deactivate a Non-Inventory Item simply click Items & Vendors> Items. From here locate the Non-Inventory Item you want to deactivate and click directly on the Item Name. From the panel to the right click the Active slider button to gray it out. Then click Save Item in the bottom right.

- GL accounts/taxes can be allocated to Non-Inventory Items by bringing up the Item Panel to the right, scrolling down to the Accounting section and clicking + Add Allocation and/or + Add Tax.
