Within Books, you should set up any Credits, Charges, or Taxes that may be needed when receiving invoices. Once created, you will be able to allocate specific GL Accounts to these objects on the GL Account Mappings page. Please keep in mind that if you manage your electronic invoices at Director, then you will also manage your Credits, Charges & Taxes within Director Books, and you'll select the applicable locations for each rule you set up.
Set up credits, charges, and taxes:
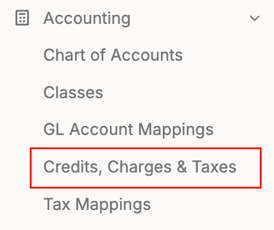
- Navigate to Books > Accounting tab > Credits, Charges & Taxes
- Click + New Accounting Object
Taxes
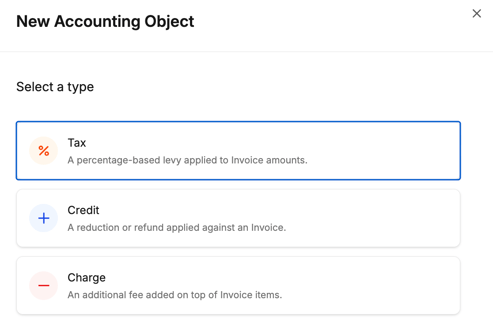
Select Tax from the available options and press the Continue button:
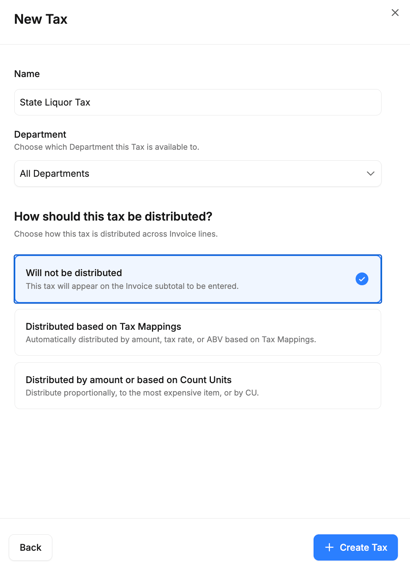
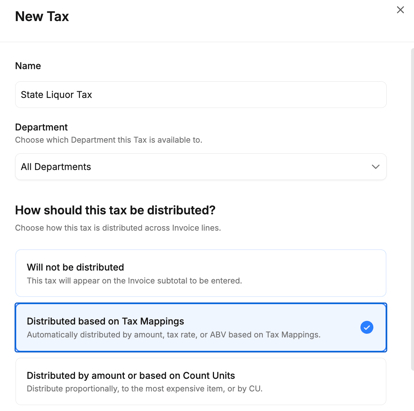
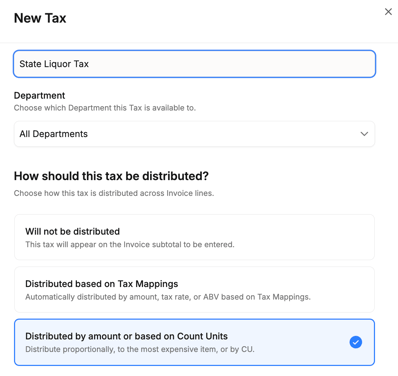
Enter a Name, select a Department (or choose All Departments), and then decide how you want to apply the tax from the available three options:
1. Will not be distributed
2. Distributed based on Tax Mappings
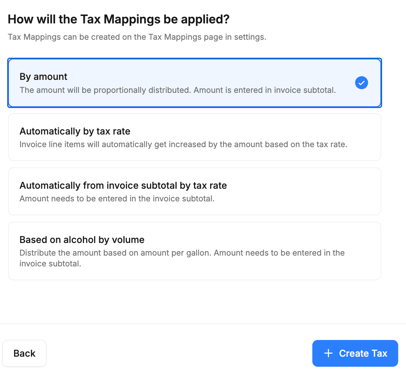
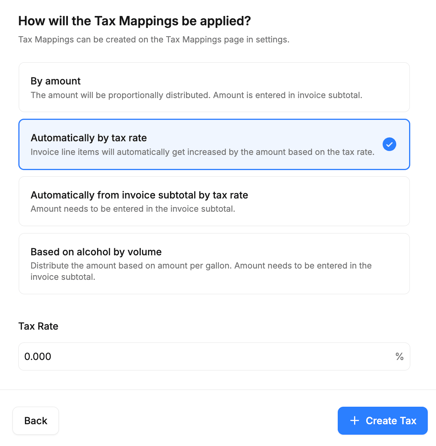
You'll then decide how you want the Tax Mappings to be applied:
-
- By Amount or Based on alcohol by volume - tax rate is not needed:
-
- Automatically by tax rate or Automatically from invoice subtotal by tax rate (you'll be prompted to select your tax rate)
3. Distributed by amount or based on Count Units
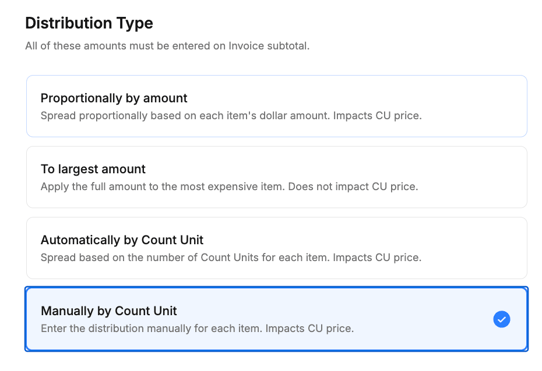
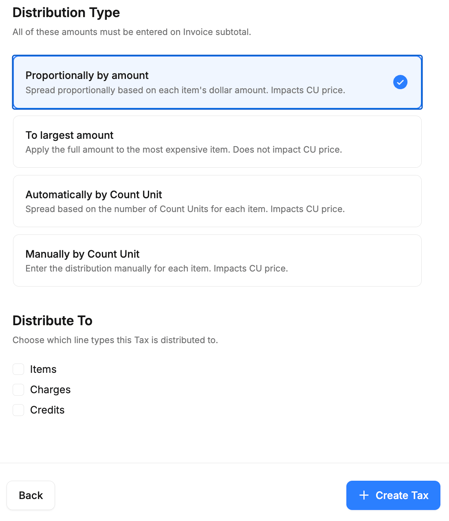
You'll then select your Distribution Type:
-
-
Proportionally by amount or To largest amount (you'll also be prompted to select if this applies to items, charges, or credits)
-
-
- Automatically by Count Unit or Manually by Count Unit
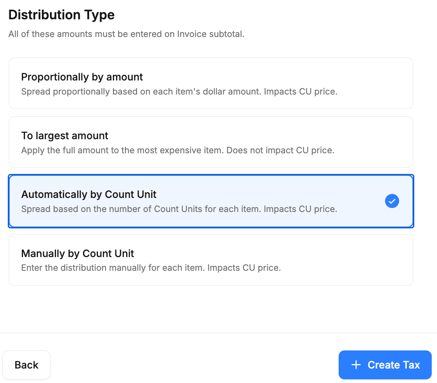
Tip: Determine whether the distribution should influence the item's CU Price. If you prefer that it remains unaffected, you should choose either "Not Distributed" or "Distribute to the Largest Amount." Selecting any of the other three options will result in an impact on the CU Price of the item.
Credits
Select Credit from the available options and press the Continue button:
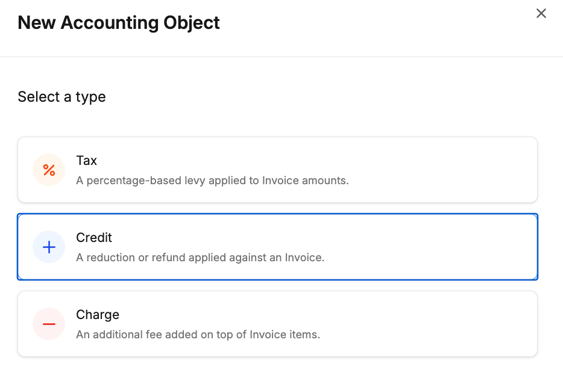
Type in a Name for the new credit, and then select if this pertains to a specific Department, or if it should be applied to All Departments:
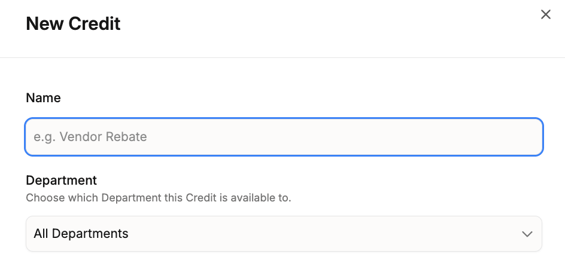
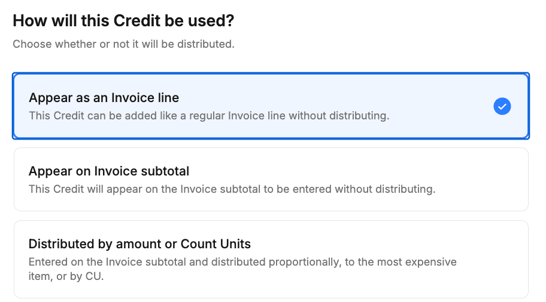
You can choose to have the credit Appear as an Invoice line or Appear on Invoice subtotal, at which point you won't need to distribute it any further.
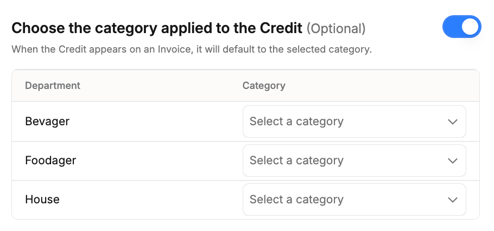
If you select Appear as an Invoice line, you then have the option to default it to a category by department:
Or, if this credit should be distributed across lines, select the box that says Distributed by amount or Count Units.
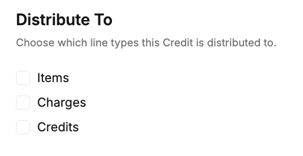
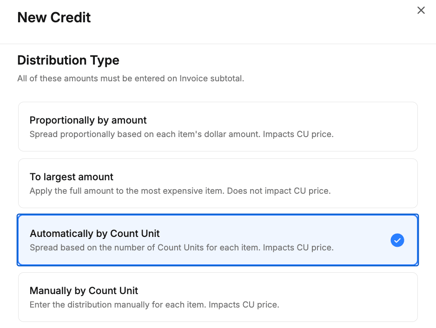
You'll then have several options to choose from. If you select Proportionally by amount, or To largest amount, you'll then have to select if it should distribute to Items, Charges, or Credits.
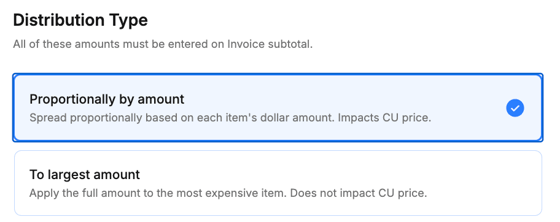
Your other two options are Automatically by Count Unit and Manually by Count Unit
For more information on CU Price see the article titled "Understanding CU Price".
Charges
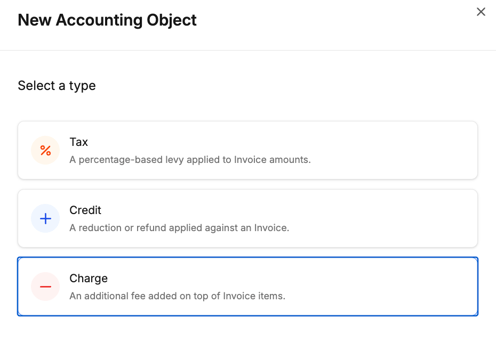
Select Charge from the available options and press the Continue button:
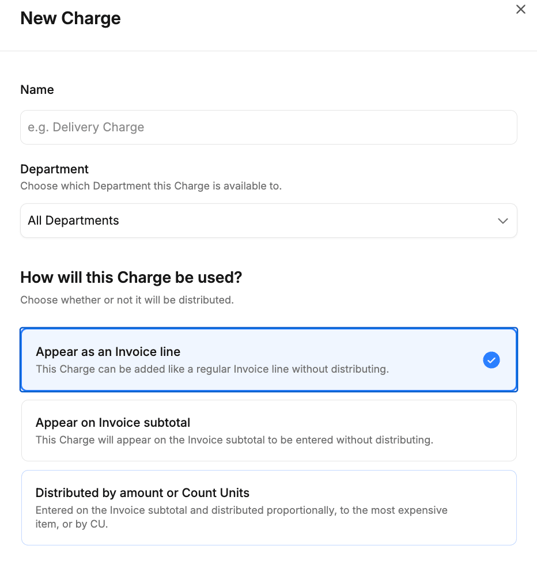
Type in a Name for the new charge, and then select if this pertains to a specific Department, or if it should be applied to All Departments. Like credits, you can choose to have the charge Appear as an Invoice line or Appear on Invoice subtotal, at which point you won't need to distribute it any further.
If the charge should remain as a line on the invoice then you can pick the relevant Category for the department (optional). Toggle the option on, and pick the category for each as it displays below:
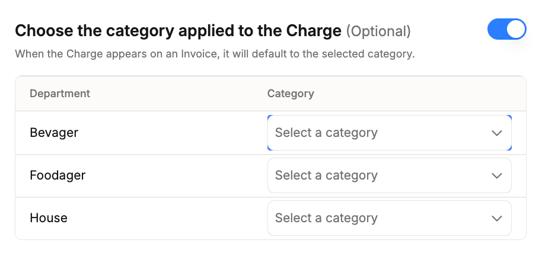
Or, if this charge should be distributed across lines, select the box that says Distributed by amount or Count Units.
You'll then have several options to choose from. If you select Proportionally by amount, or To largest amount, you'll then have to select if it should distribute to Items, Charges, or Credits.
Your other two options are Automatically by Count Unit and Manually by Count Unit, both of which impact the CU price.