
GL Mappings allow you to create rules in the Books platform to automatically pre-allocate General Ledger codes to lines on your invoices and bills. These mappings can be applied to categories, subcategories, items, vendors, and more.
GL mappings define which GL Accounts apply to items when invoices and bills are processed. Mappings can be set on different levels of specificity. The levels in order from least to most specific are:
- Vendor
- Category
- Category + Subcategory
- Item/Charge/Credit/Tax
Tip: We recommend mapping all the categories used in your system first. This ensures that every invoice line has an allocation, reducing the chance of errors later. From there, you can get more specific with mappings for subcategories, vendors, or items!
Note: When multiple GL Mappings exist for the same Item, the Item-level mapping completely replaces the others — it does not add to it. Any GL Account you want applied to a specifically-mapped Item must be added directly to that Item's Mapping, even if it's already on the Category.
To create and manage GL Mappings:
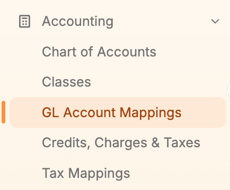
- In the Books platform, navigate to Accounting > GL Account Mappings in the navigation bar.
- To add a new mapping, click the + New Mapping button in the top, right corner.
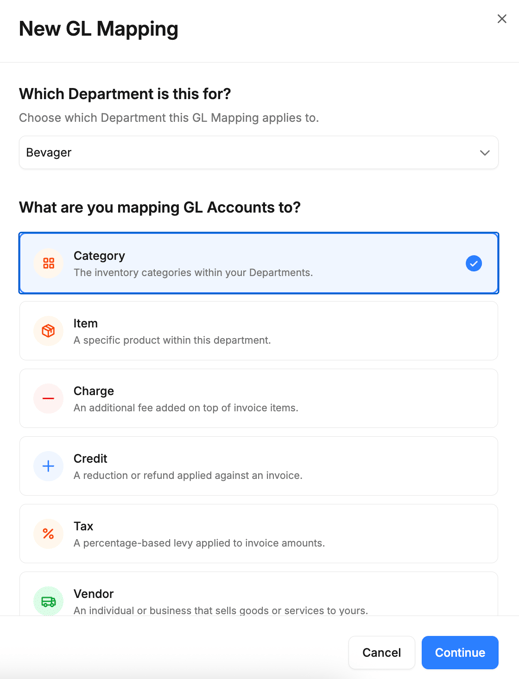
- If you want to assign GL accounts to the varying categories in your system, you have to pick a specific Department to make that option available (you cannot select All departments).
- Next, you'll pick a specific category, or you can select All categories:
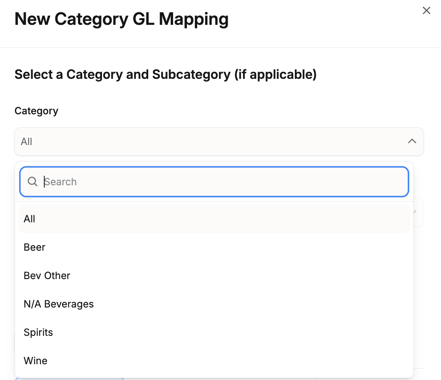
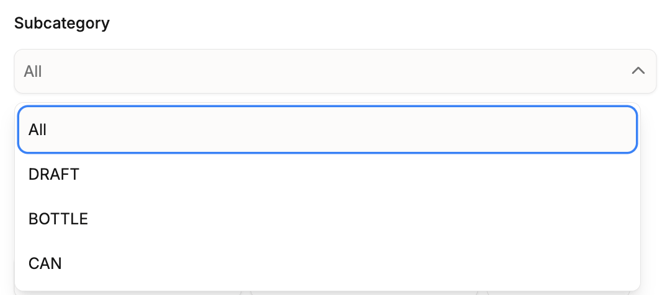
- Pick a Subcategory, if needed:
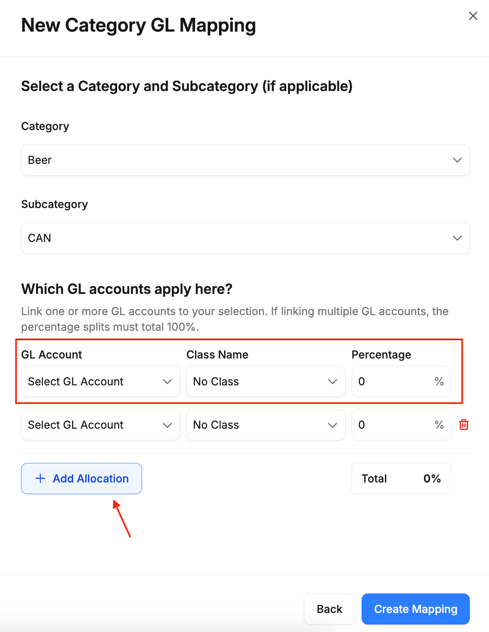
- From there, you can select the applicable GL account, a class (if needed), as well as an allocation percentage. You also have the option to add additional allocations. Click Create Mapping to save your changes.
- Once configured, all future invoices with lines will automatically apply your mapping.
Note: For Craftable’s Unified Platform, you can choose to create GL mappings for all departments using the 'All' option (if you have the correct permissions) or customize mappings for a specific department. This flexibility is perfect if different departments need distinct mappings.
GL Mapping Hierarchy:
One important thing to note is the GL Mapping hierarchy. The platform uses the most specific mapping available.
Here’s how the hierarchy works:
- Item mappings are considered the most specific.
- Then comes Category + Subcategory.
- Third in priority are general Category mappings.
- Vendor mappings are considered the most general.
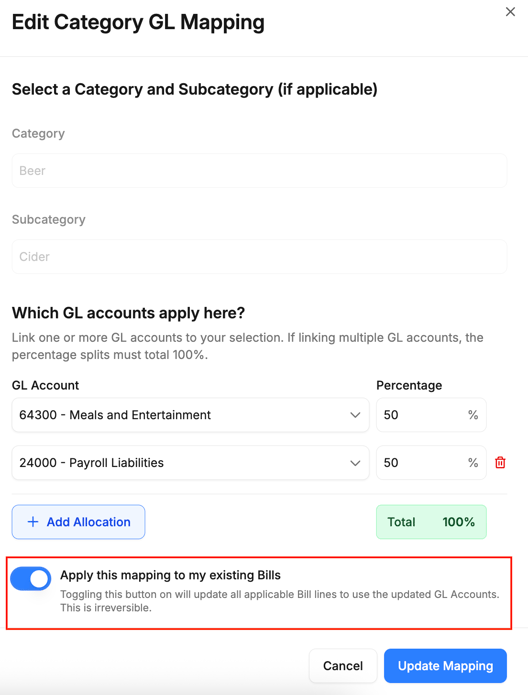
Once a non-tax-related GL Mapping is created, you can select it again and toggle the setting on in order to Apply this mapping to my existing Bills. This allows you to apply your new GL mappings to multiple bills at once, saving time.
FINAL TIPS
- Start by mapping all categories.
- Use more specific mappings for exceptions like items or subcategories.
- Don’t forget to map any credits, charges, or taxes with static GL codes.