
Syncing with Books
If you have integrated an accounting solution with your Craftable subscription, you can sync bills and credits to your accounting software through the Books system, reducing the need for manual data entry.
Sync with Books:
- Navigate to Books.
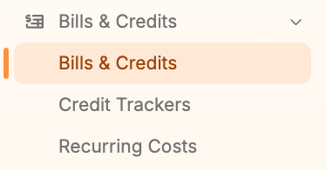
- Expand the Bills & Credits section from your left Books menu panel and select the Bills & Credits subsection.
- From the Bills & Credits page, you will find a number of bills and credits that have been generated when your locations approve vendor invoices within the platform. There will be statutes associated with the bills.
- Status types:
 - Indicates additional line items still require GL account allocation.
 - Indicates all line items have been allocated and the bill is awaiting approval
 - Indicates the bill has been approved and is ready to be synced
 - Indicates there is no payee assigned.
- Status types:
Tip: Select the blue Bill # link on the Bills & Credits page to open the bill to address unassigned line items or approve the bill on an individual basis
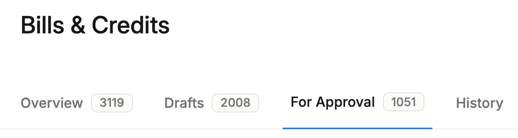
4. You can locate all of the bills awaiting approval by selecting the For Approval tab from the Bills & Credits page. using the checkbox next to bills with Red “Assigned” statuses and selecting the green Mass Approve button.
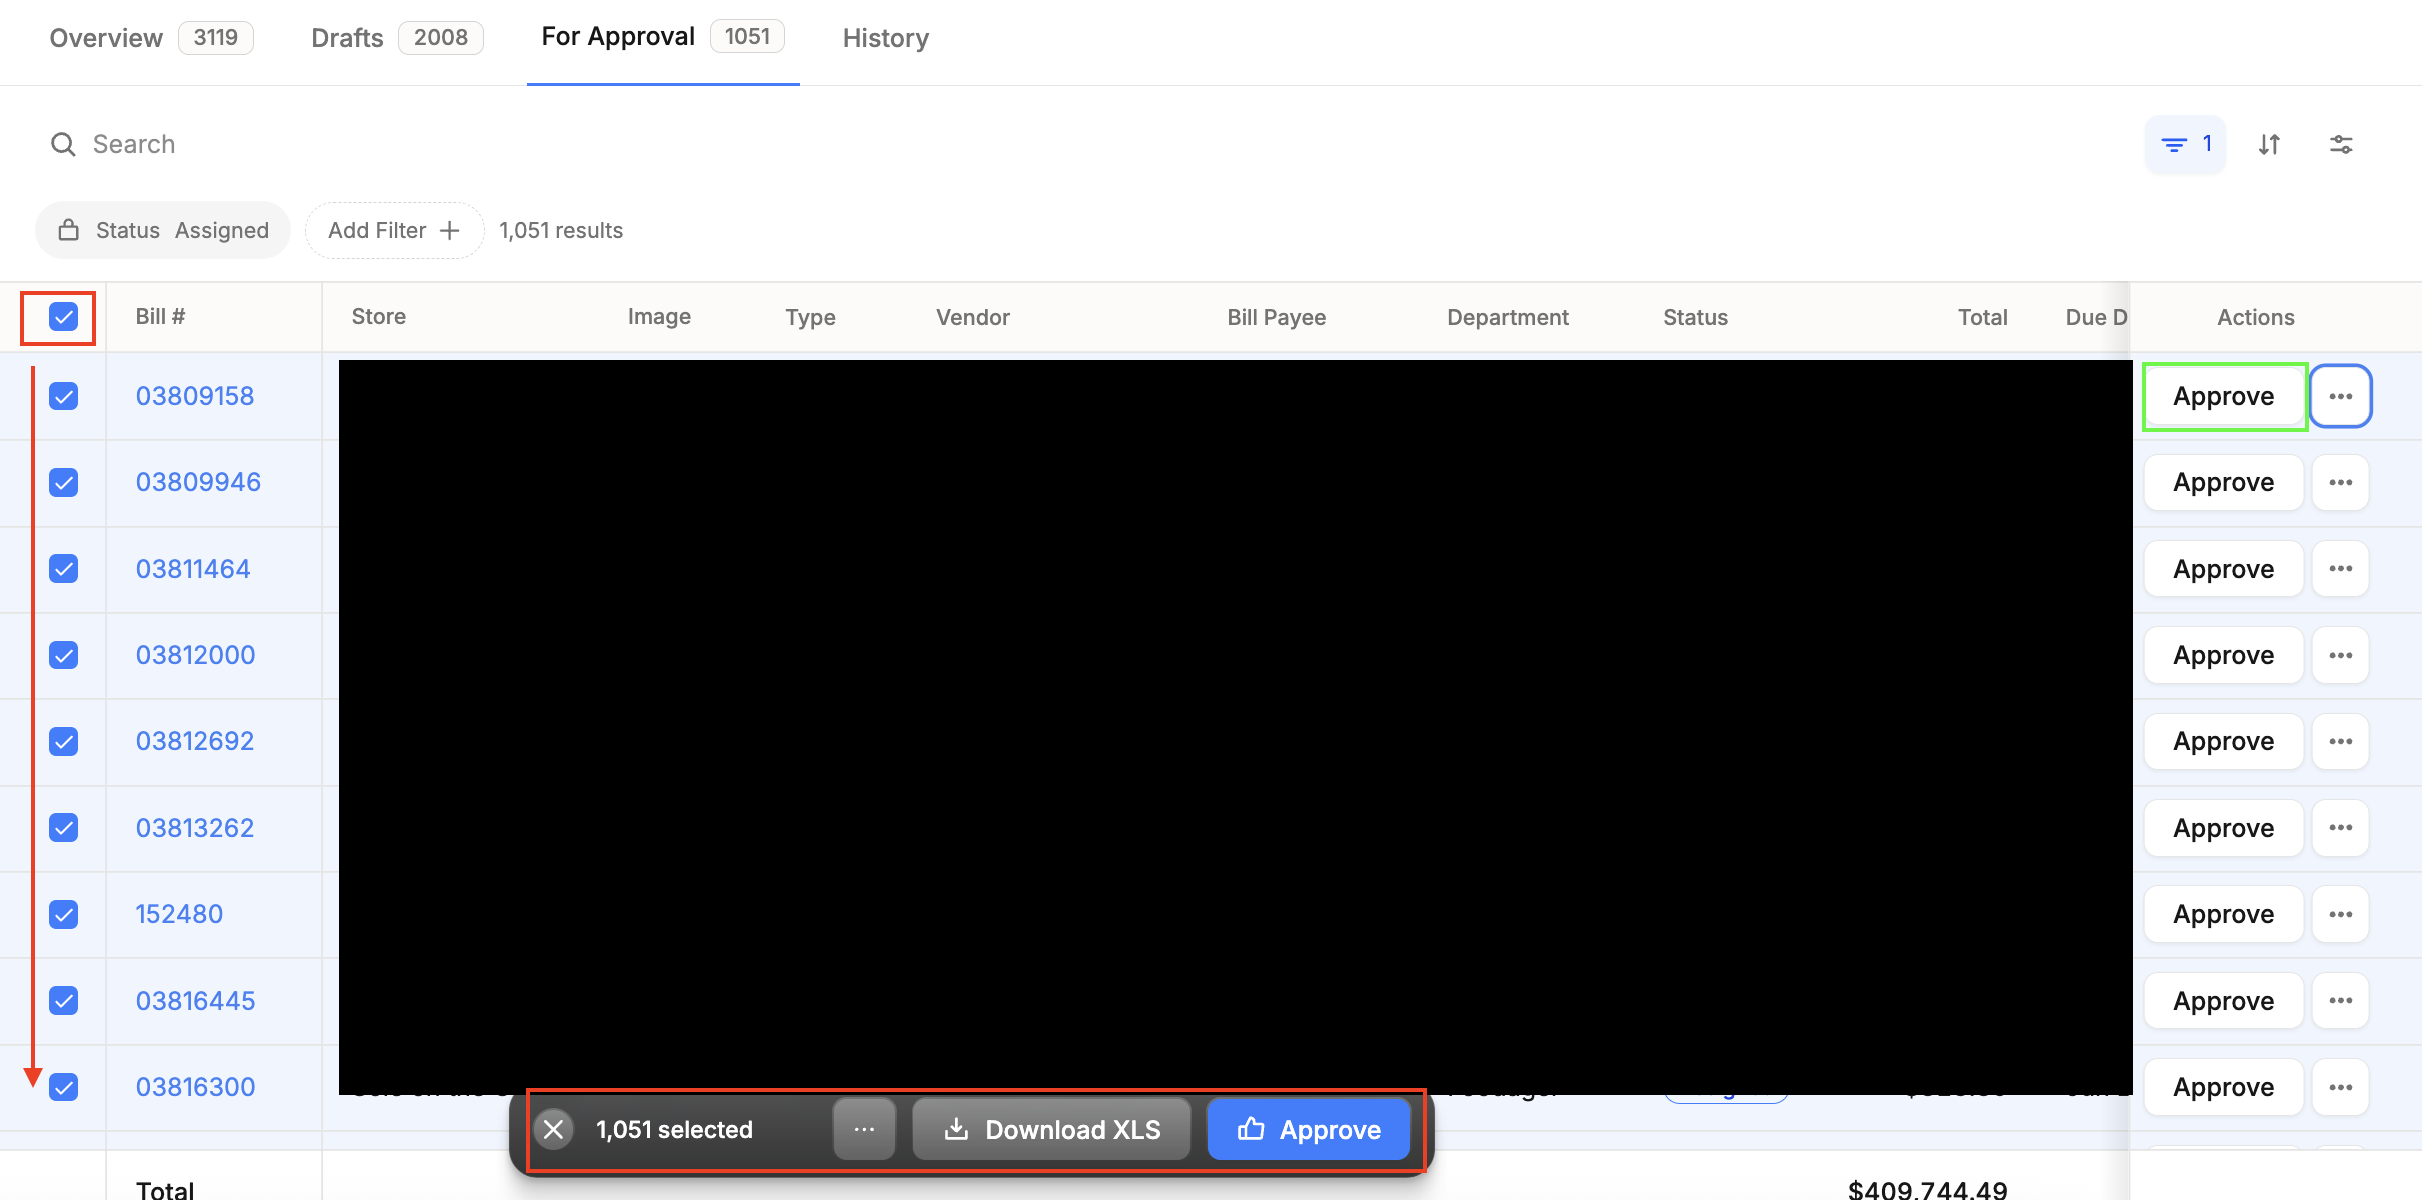
a. You can either approve bills one at a time (clicking the Approve button, on the far right of the screen, highlighted in green), or, to approve in mass, you can click the checkbox in the upper, left corner (highlighted in red), which checks all bills located below that. The mass actions menu bar will appear at the bottom of the page, allowing you to perform multiple actions for the selection you've chosen. If you wish to approve the entire selection, press the blue Approve button.
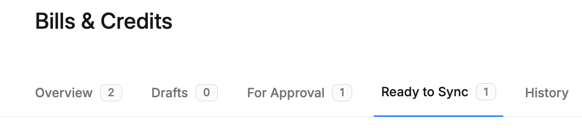
5. Once bills have been approved, you'll then navigate to the Ready to Sync tab, still within the Bills & Credits page. If you approve bills at Director, however, you will need to navigate to the store level to sync the bills:
-
- This file should be moved onto whichever accounting software drive used, as it will be picked up and loaded in.
- This file should be moved onto whichever accounting software drive used, as it will be picked up and loaded in.
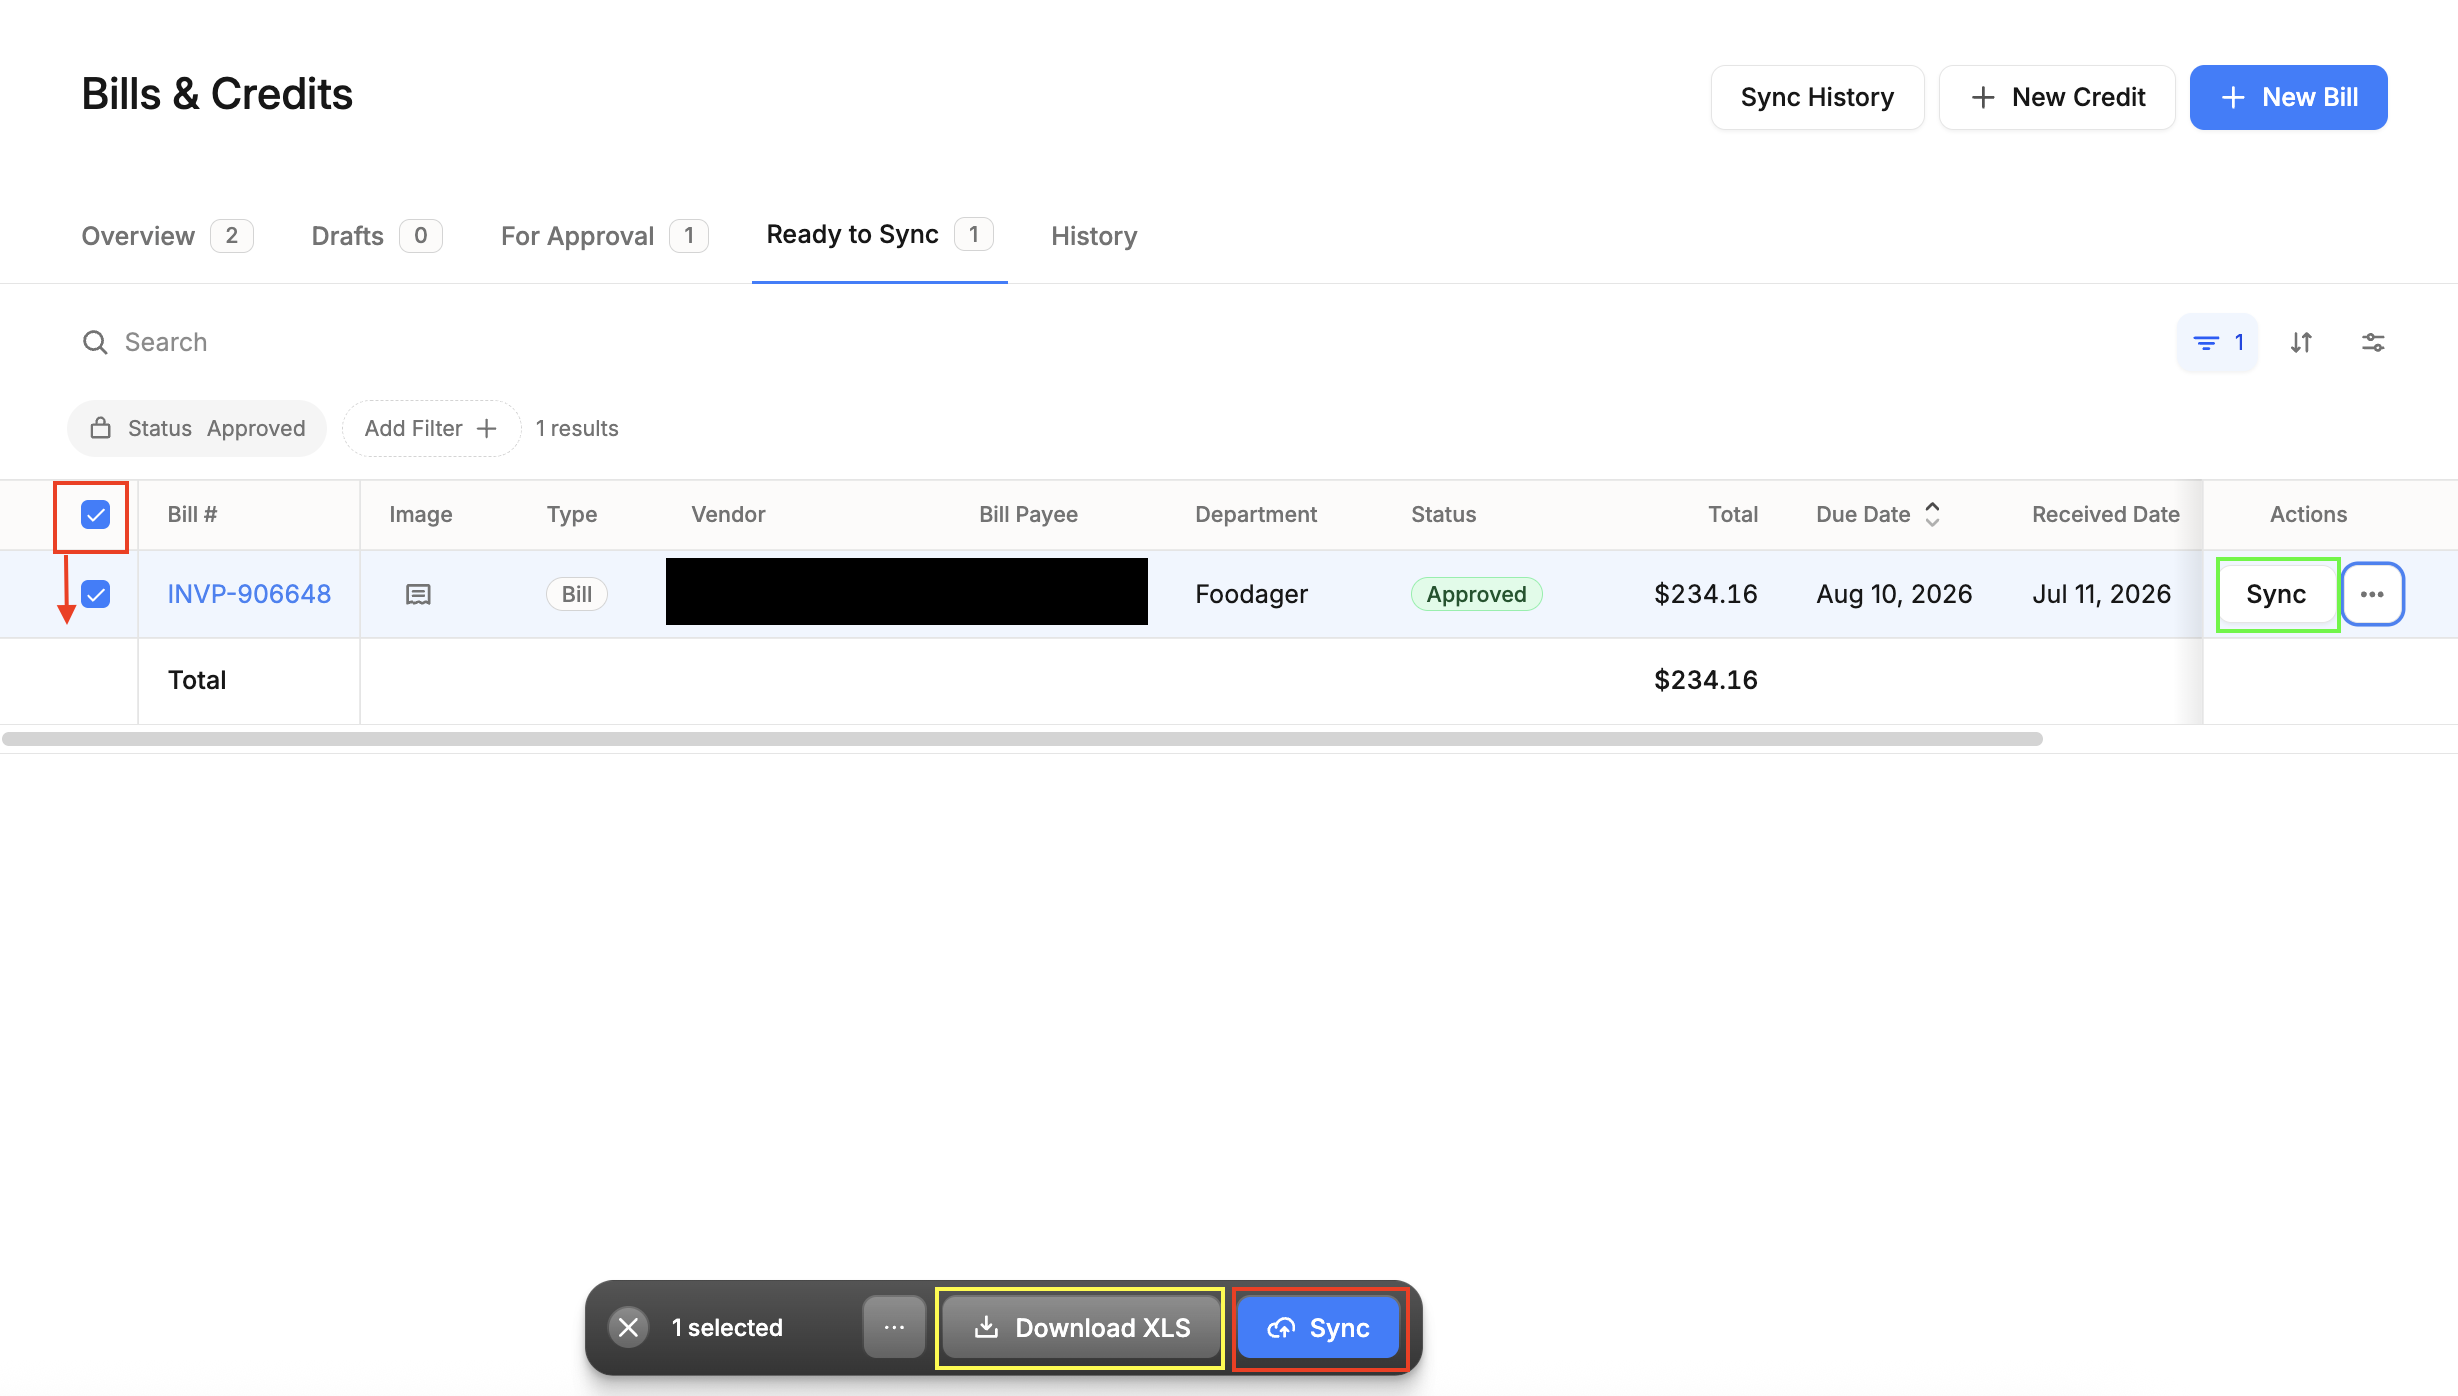
Note: If you see a Sync button instead of Download this means that the data will be synced directly into your AP platform (available with only certain accounting types - e.g. QuickBooks Online, R365, Bill.com, etc...) The video in this article demonstrates the process as it relates to QuickBooks Online.